次の文を英語にしてください。 「私は、お店で違う人に話しかけてしまい、恥ずかしかったです。」 「恥ずかしい」はshyだと思いま […]
INTERMEDIATE ENGLISH
Posted on:
「たぶん」の表現
次の日本語を英語にしてください。 「たぶん彼は来ます。」 答えProbably, he will come. またはHe wi […]
Life
Posted on:
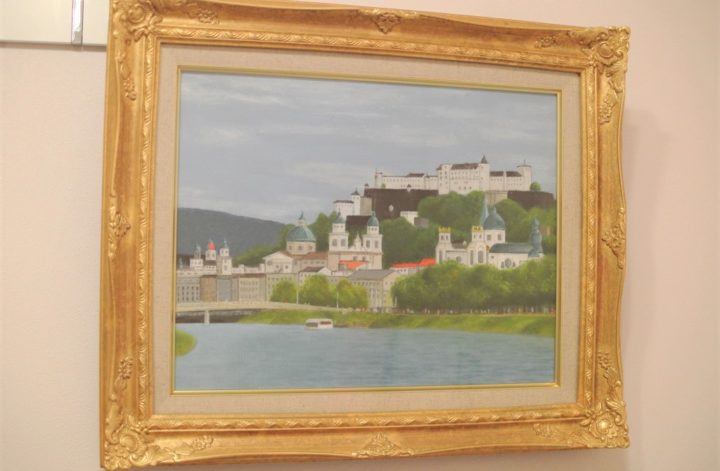
Landscape of Salzburg
I visited my parents. In their house, there are many watercolor […]
U.S.
Posted on:
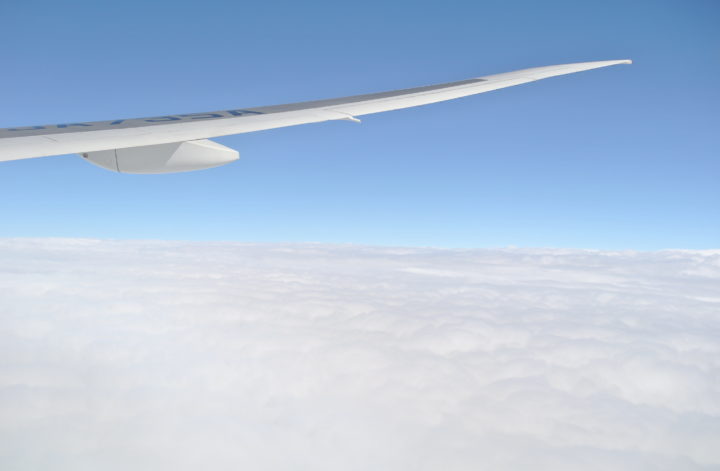
Virginia days (21): Departure
On the way to D.C., my BFF, Miss Fairy, and I dropped in at Fiv […]
U.S.
Posted on:
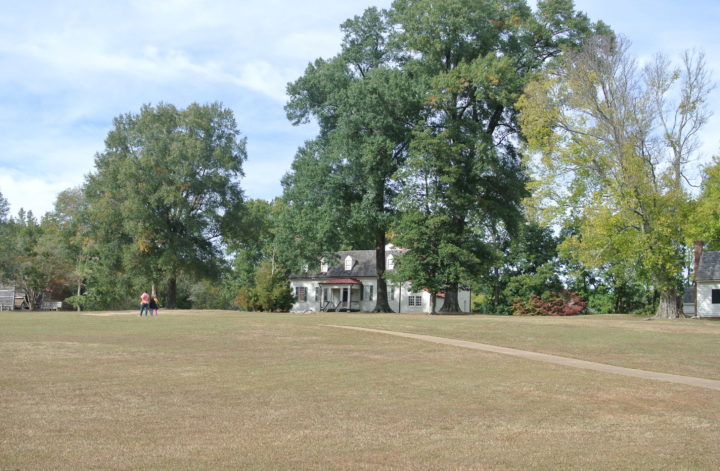
Virginia days (20): Meadow Farm
The next morning, while my BFF was away from home doing her vol […]
U.S.
Posted on:
Virginia days (19): Swift Creek Reservoir
In the evening, my BFF, her family and I went to the Swift Cree […]
U.S.
Posted on:
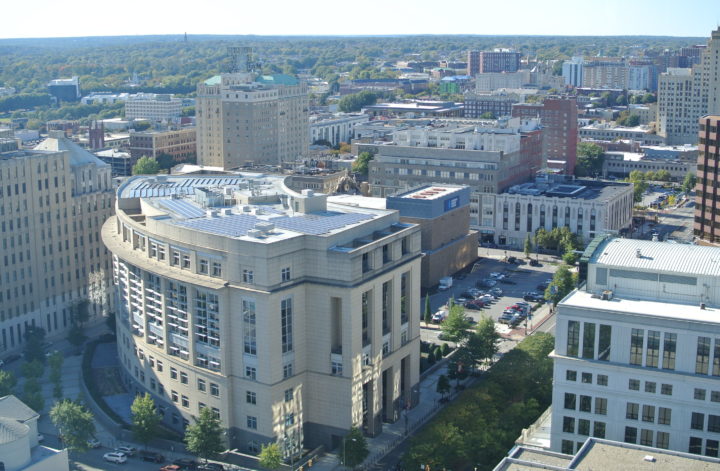
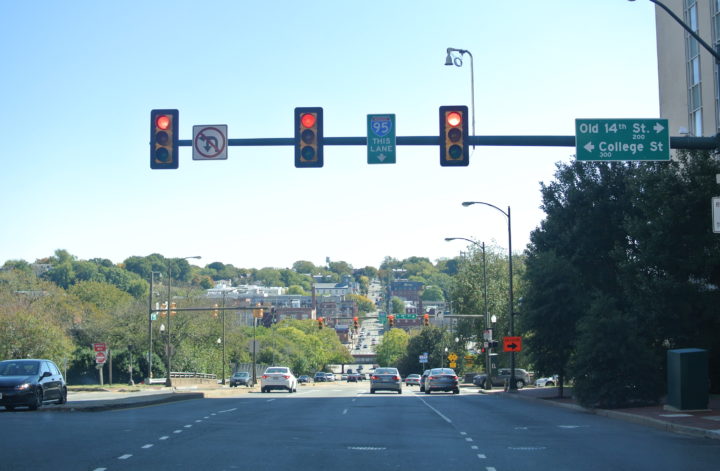
Virginia days (18): Bird’s eye views
After leaving Capitol Square, Mr. M and I went to the new city […]
U.S.
Posted on:
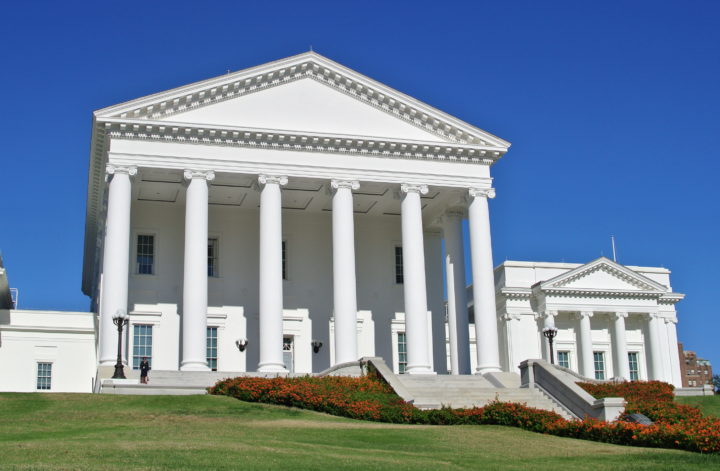
Virginia days (17): Capitol Square
Mr. M and I came to the very center of Richmond. We parked the […]
U.S.
Posted on:
Virginia days (16): Church Hill
After leaving Carytown, Mr. M and I headed toward Church Hill. […]
U.S.
Posted on:
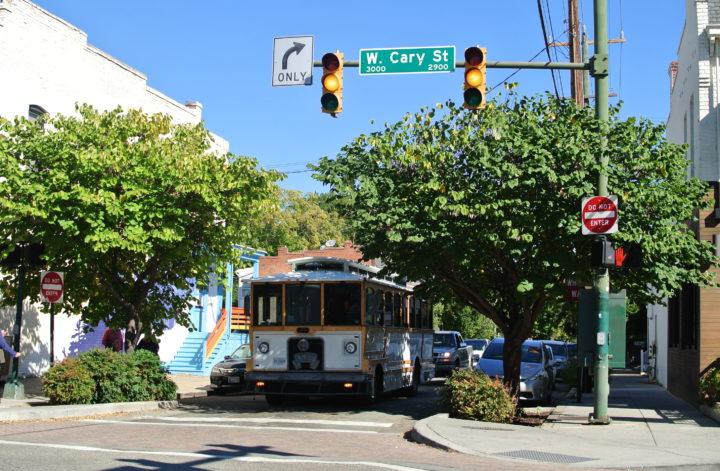
Virginia days (15): Carytown
My BFF’s husband, Mr. M drove me to downtown Richmond. He […]
U.S.
Posted on:
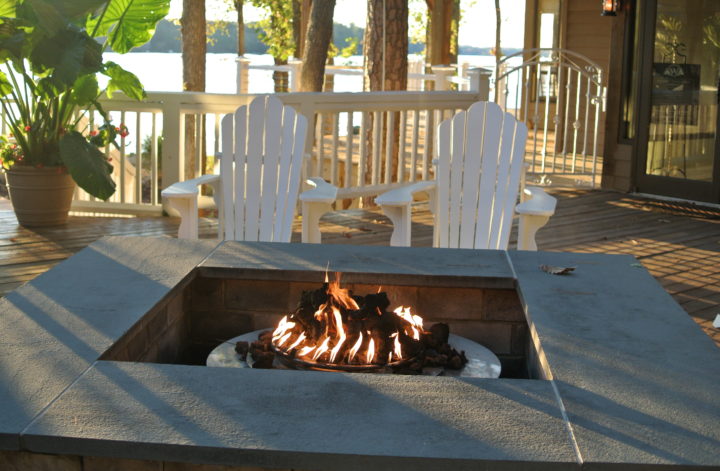
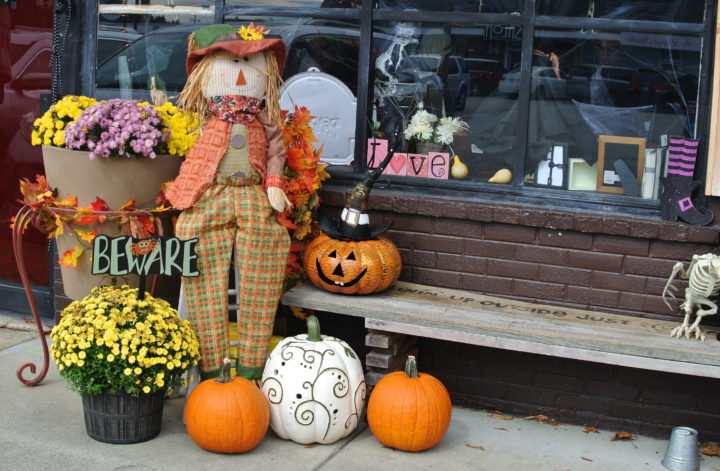
Virginia days (14): Halloween decorations
My BFF took me to a restaurant called “SB’s Lakesid […]